Let's learn how to create an illiustration. You can get your favorite photo and try to do the same steps.
Let’s create a new document with dimensions 500x400 and 72 dpi. Using the instrument
 , create a triangle (colour code is indicated with red).
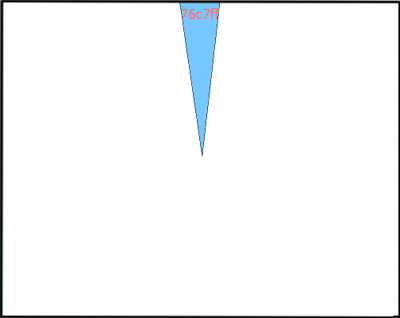
Continue using the same instrument
and create triangles on all the backgrounds - one triangle to one background:
All of them having the same colour:
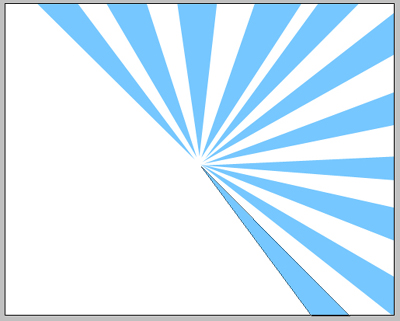
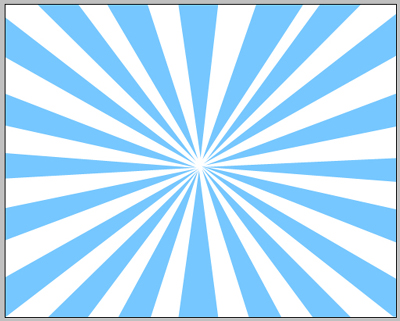
Continue create triangles:
We’ll get the next picture.
On a new background create a nice star using this instrument
 :
: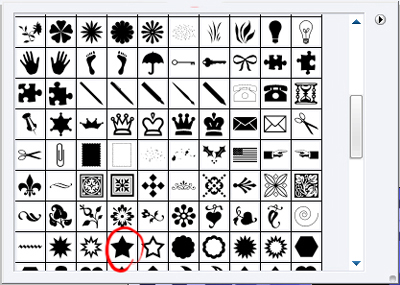
The colour code is indicated again with red.
Make several stars of different dimensions, but of the same color.
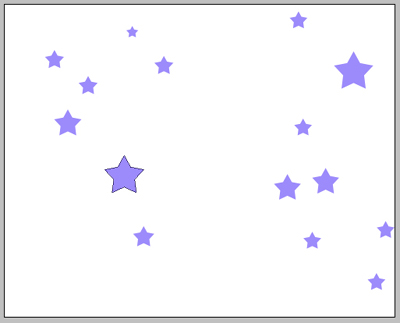
And several stars of different colors:
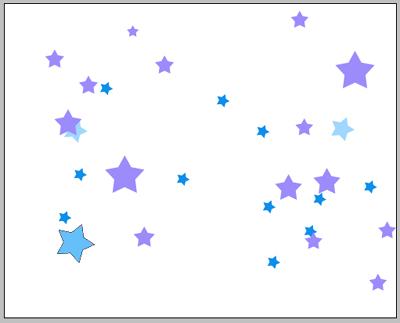
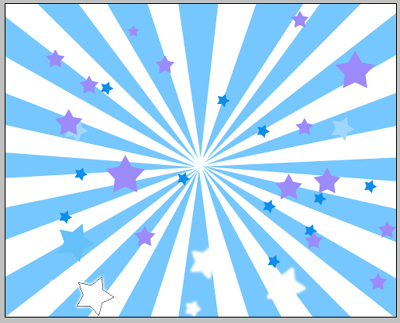
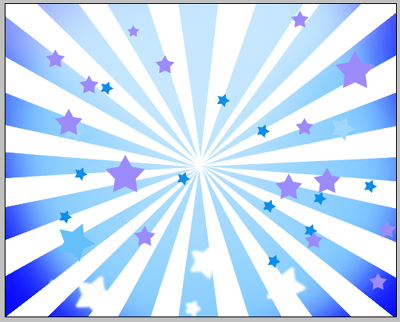
We’ll combine our stars with the triangles and we’ll have the next picture:
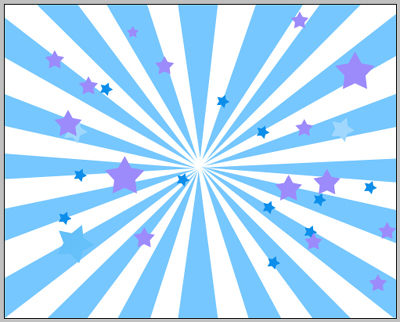
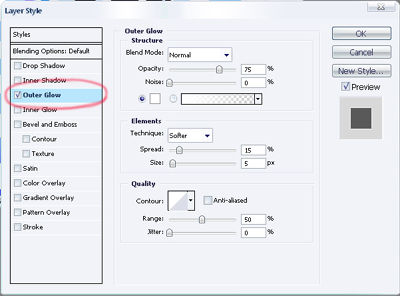
We’ll add some luminescent stars using the instrument Blending Options where we’ll choose Outer Glow and set out like in this picture:
We’ll get luminescent stars:
Add some extra-effects. We’ll use a big brush of white color on a new background and make the upper part of the picture brighter. The brush’s dimensions: hardness – 0% and opacity – 10%:
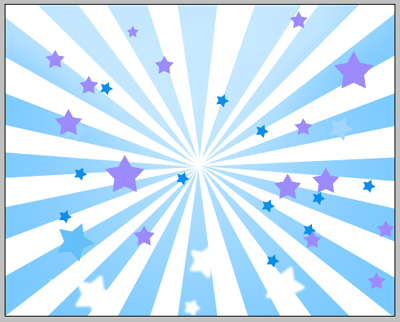
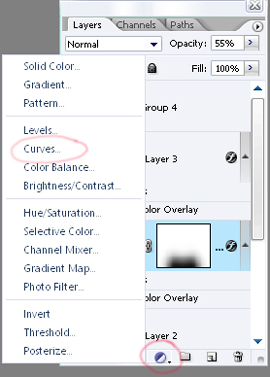
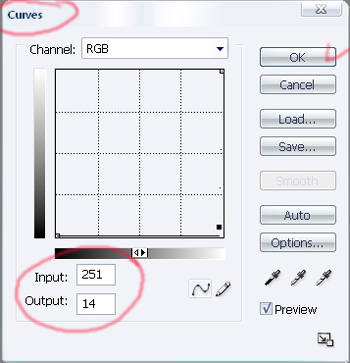
Also we’ll dark out the edges of the picture by clicking the next instrument and choosing Curves on a new background:
The menu is open and we can install the next parameters. Seizing the left point from the bottom.
If anything is done correctly we’ll see the next:
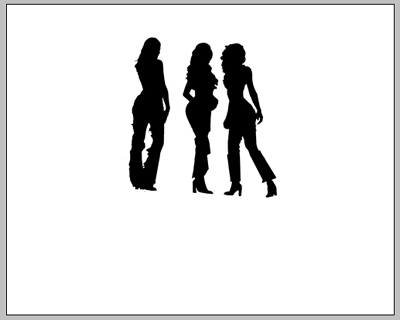
Let’s take the girl’s photo and using the instrument
 , move off the background:
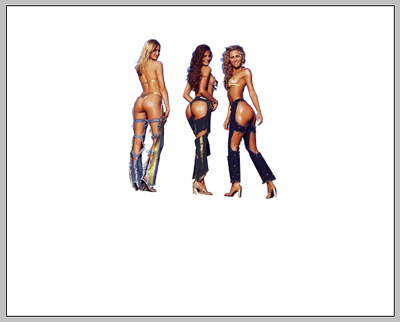
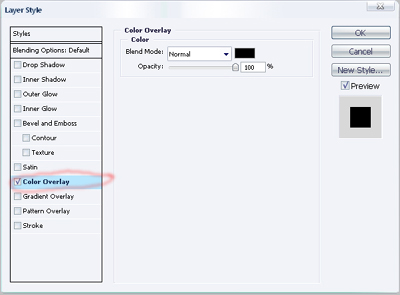
Applying Blending options and parameter Colour Overlay on the girls’ background set out the black colour.
We’ll get the girls’ silhouettes:
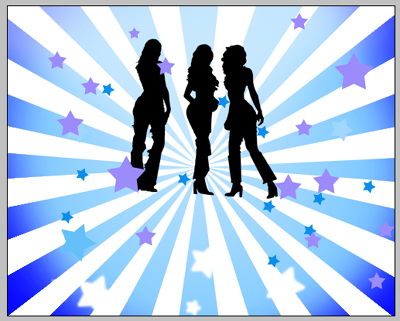
Add the girls’ silhouettes to the result we got before and we’ll see:
Add also a shadow under the girls. We need to copy the background with girls’ silhouettes and use Free Transform (by clicking the right button of the mouse on the background) and display the silhouettes on 180* vertically. Don’t forget to change the opacity – 55% on the background.

Download: Source File
 . The parameters should be the same from the picture.


 will help us to create figures like the next ones.


 . The font should be Verdana.


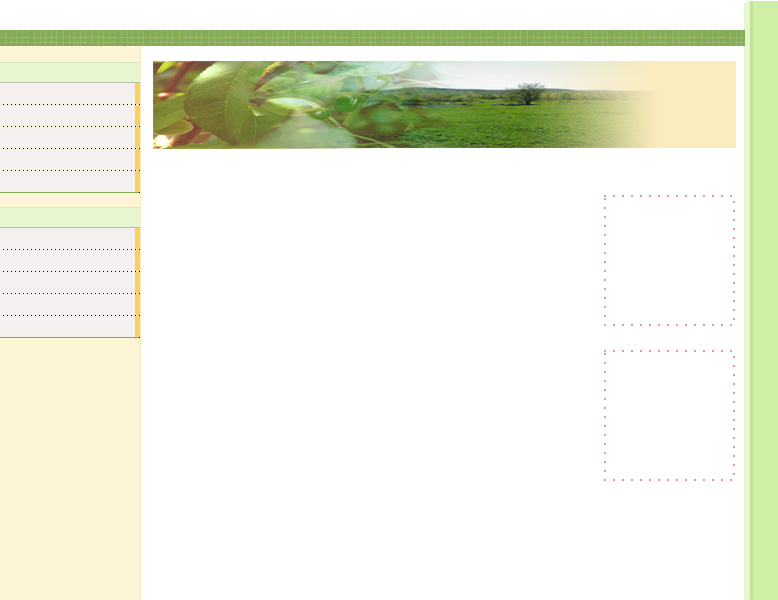 This is the second web site layout which i designed.


